
Custom Card Printing Guides
Custom Card Printing Artwork Requirements: How to Prepare Bleed, Color, and Files
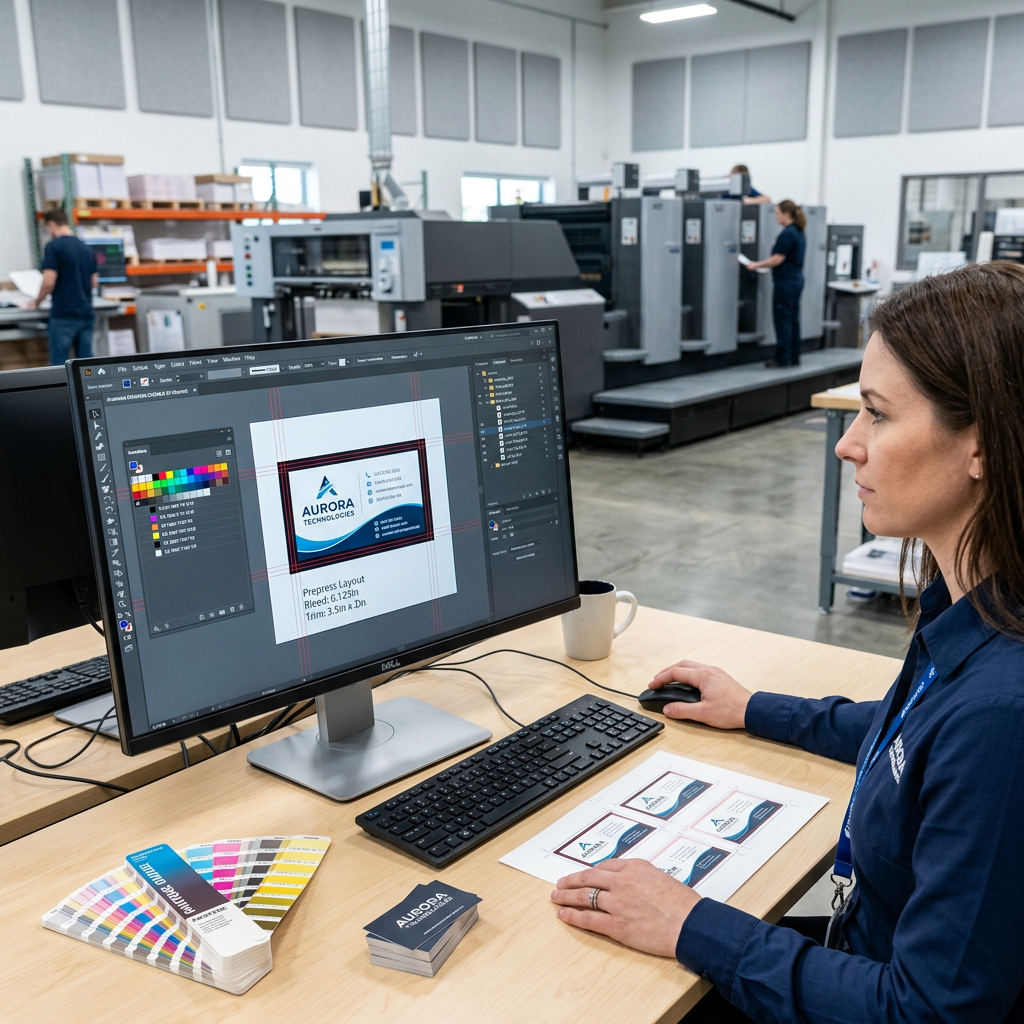
Table of Contents
- Custom Card Printing Artwork Requirements: Start With the Production Specification
- Bleed, Trim Lines, and Safe Areas
- Color Mode, Resolution, and Image Quality
- File Formats, Fonts, Layers, and File Setup
- Front, Back, and Multi-Card Artwork Alignment
- Proofing, Sampling, and Production Approval
- Artwork Submission Checklist for Bulk Card Printing
- Conclusion: Confirm the Custom Card Printing Artwork Requirements Before Production
Preparing accurate artwork is one of the most important steps in custom card printing. This practical guide explains bleed, trim lines, safe areas, color modes, image resolution, fonts, file formats, proofing, and file delivery so B2B buyers can reduce avoidable production problems.
Custom Card Printing Artwork Requirements: Start With the Production Specification
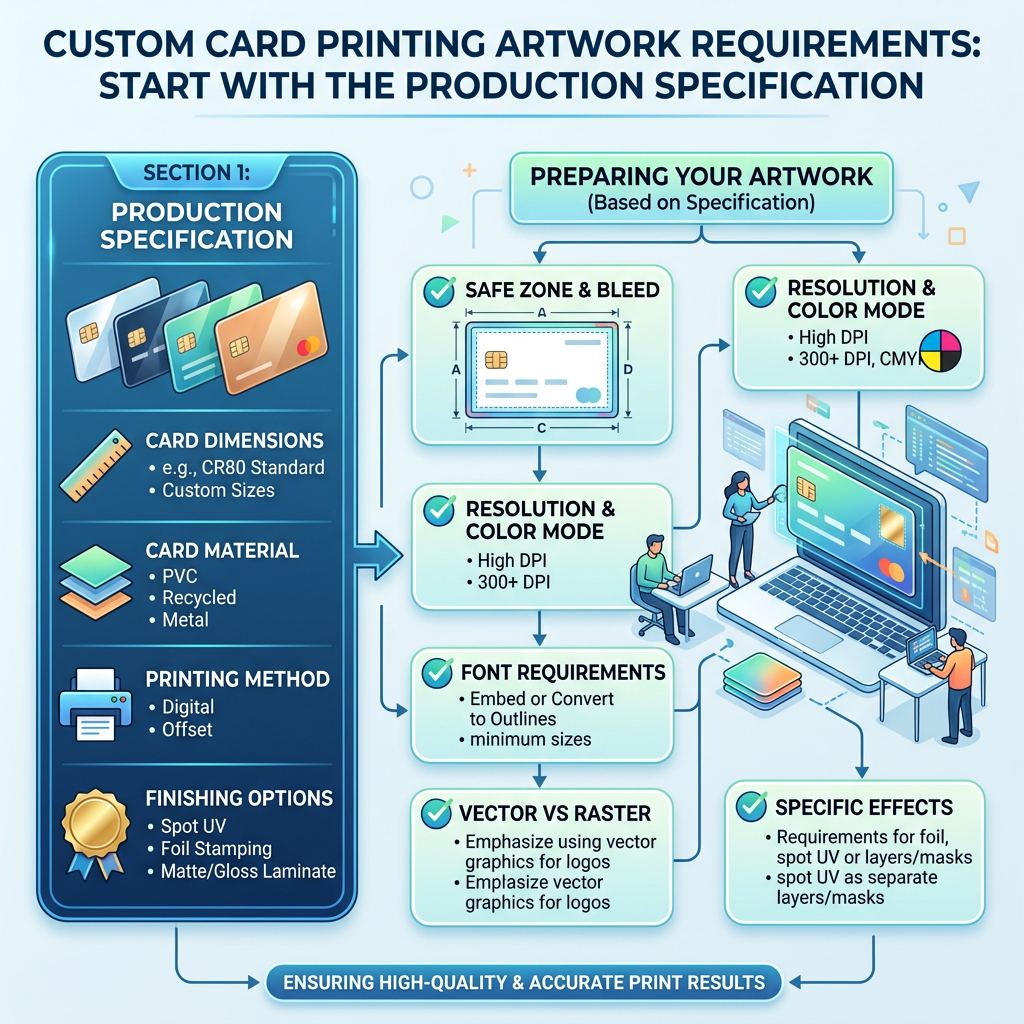
The safest way to prepare artwork is to confirm the printer’s technical specification before designing the final files. The custom card printing artwork requirements normally cover finished size, bleed, safe area, color mode, image resolution, file format, font handling, front-and-back alignment, and any special finish or die-cut information.
In practical terms, send artwork that is correctly sized, includes the required bleed, uses suitable images and colors, keeps important content away from the trim edge, and can be checked clearly by the production team. If the project includes multiple card faces, each face should be named and organized so the manufacturer can identify the correct sequence.
Specifications, minimum order quantity, price, and lead time depend on the card type, dimensions, material, quantity, finish, packaging, and production requirements. Ask the factory to confirm its template before completing a large set of files. This is particularly important for playing cards, game cards, educational cards, membership cards, and other products with precise front-and-back registration.
For broader planning, review this guide to selecting a custom card printing manufacturer. A capable manufacturer should be able to review artwork, explain file corrections, provide a proof or sample when needed, and confirm the approved specification before bulk production.
Bleed, Trim Lines, and Safe Areas
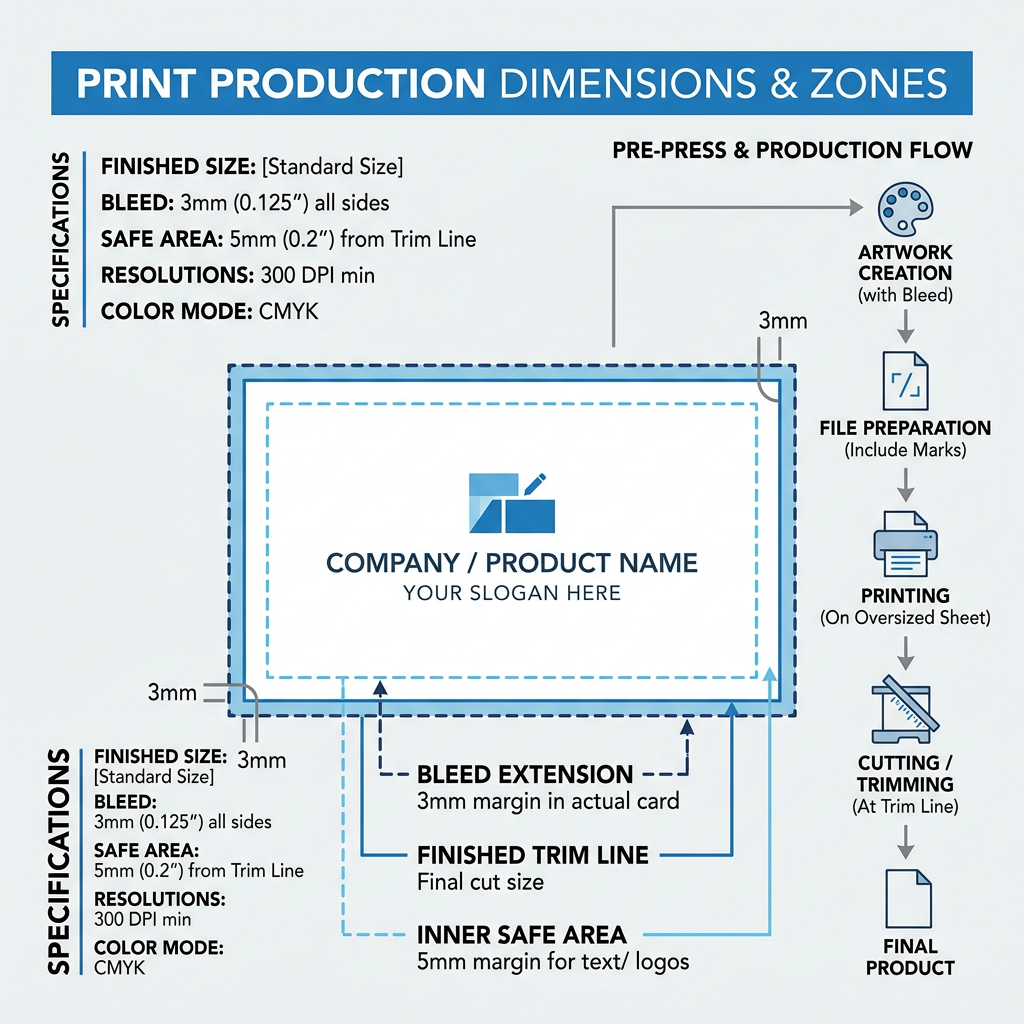
Bleed is extra artwork that extends beyond the intended finished edge. It allows for normal cutting variation so a card does not show an unwanted white strip along its border. The trim line indicates where the finished card is expected to be cut. The safe area is the inner zone where important text, logos, icons, and faces should remain.
For example, if the finished card is 63 × 88 mm and the factory requests 3 mm bleed on every side, the supplied artwork should be 69 × 94 mm. The final size remains 63 × 88 mm after trimming. The exact bleed value is project-specific, so use the manufacturer’s template rather than applying a universal number.
- Extend background colors, patterns, and photographs through the bleed area.
- Do not place critical text or thin borders close to the trim line.
- Keep rounded-corner details positioned consistently on all cards.
- Remove non-printing guides before exporting the final file unless the factory requests a template layer.
- Check whether the template shows a separate crease, fold, foil, embossing, or die-cut layer.
Full-bleed backgrounds are usually safer than backgrounds that stop exactly at the trim line. Borders require extra care because even a small cutting variation can make one side appear wider than another. If a border is essential to the design, discuss its width and tolerance with the production team before approving the artwork.
Color Mode, Resolution, and Image Quality
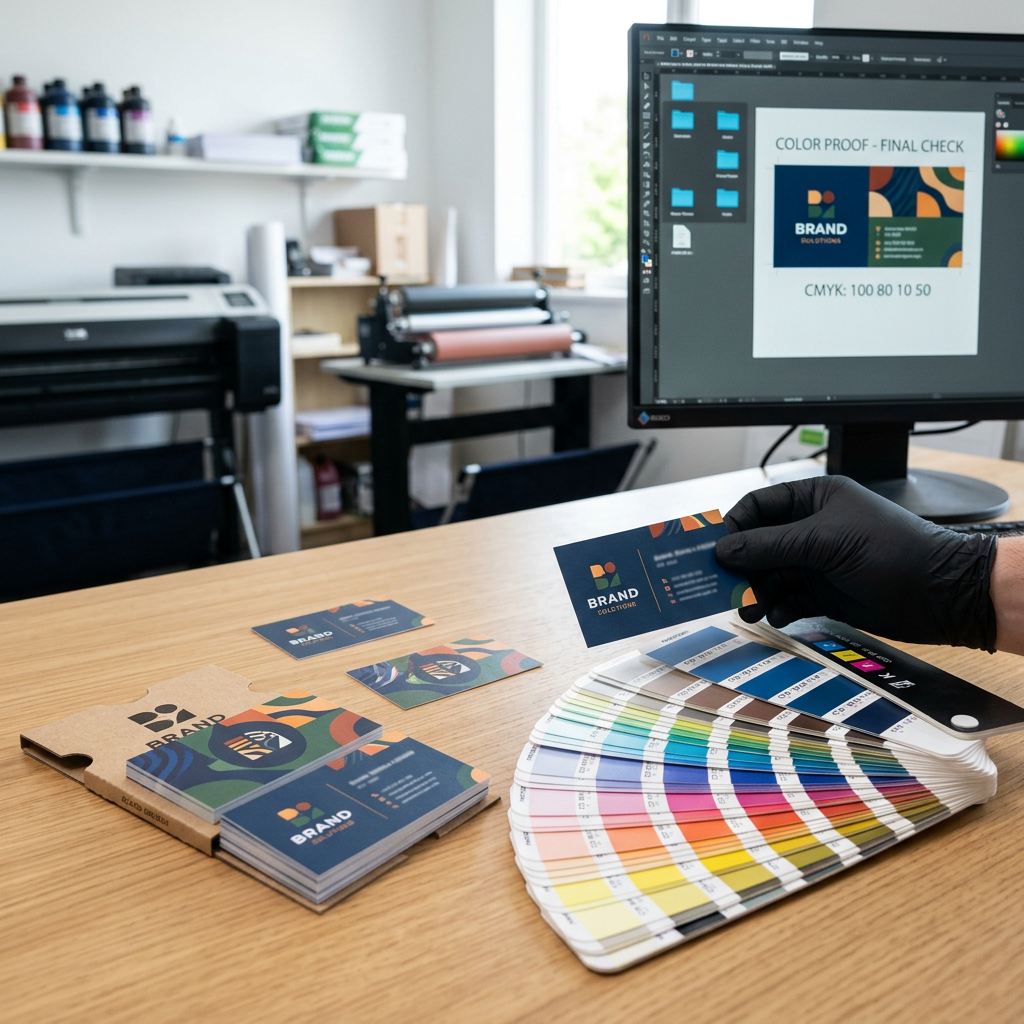
CMYK is a print color model based on cyan, magenta, yellow, and black inks. RGB is a light-based color model used by screens. A design may look bright in RGB but change when converted to printable CMYK values. For that reason, ask whether the factory wants files supplied in CMYK or whether its prepress team will handle the conversion.
Color expectations should be agreed before production. Brand colors, skin tones, dark backgrounds, and small colored text can be sensitive to the selected card stock, coating, ink coverage, and printing process. A digital proof can confirm layout and content, but it may not show the physical result exactly. A printed sample is more useful when the buyer needs to evaluate material, surface, color appearance, handling, or packaging together.
Use high-resolution images at their intended print size. Low-resolution images may appear acceptable on a monitor but become soft or pixelated when printed. Avoid enlarging small web images. Keep linked images together with the source file, or embed them if the chosen file format supports that workflow.
- Use the requested CMYK profile or confirm the manufacturer’s preferred workflow.
- Check black settings for large background areas and small text.
- Review gradients, transparency, overprint, and very fine lines.
- Use vector artwork for logos, icons, and typography whenever possible.
- Request a physical sample if color, stock, coating, or tactile finish is commercially important.
Material and finish choices can affect how colors appear and how easily cards shuffle or handle. See the guide to card materials, finishes, and packaging before locking the artwork and surface treatment together.
File Formats, Fonts, Layers, and File Setup
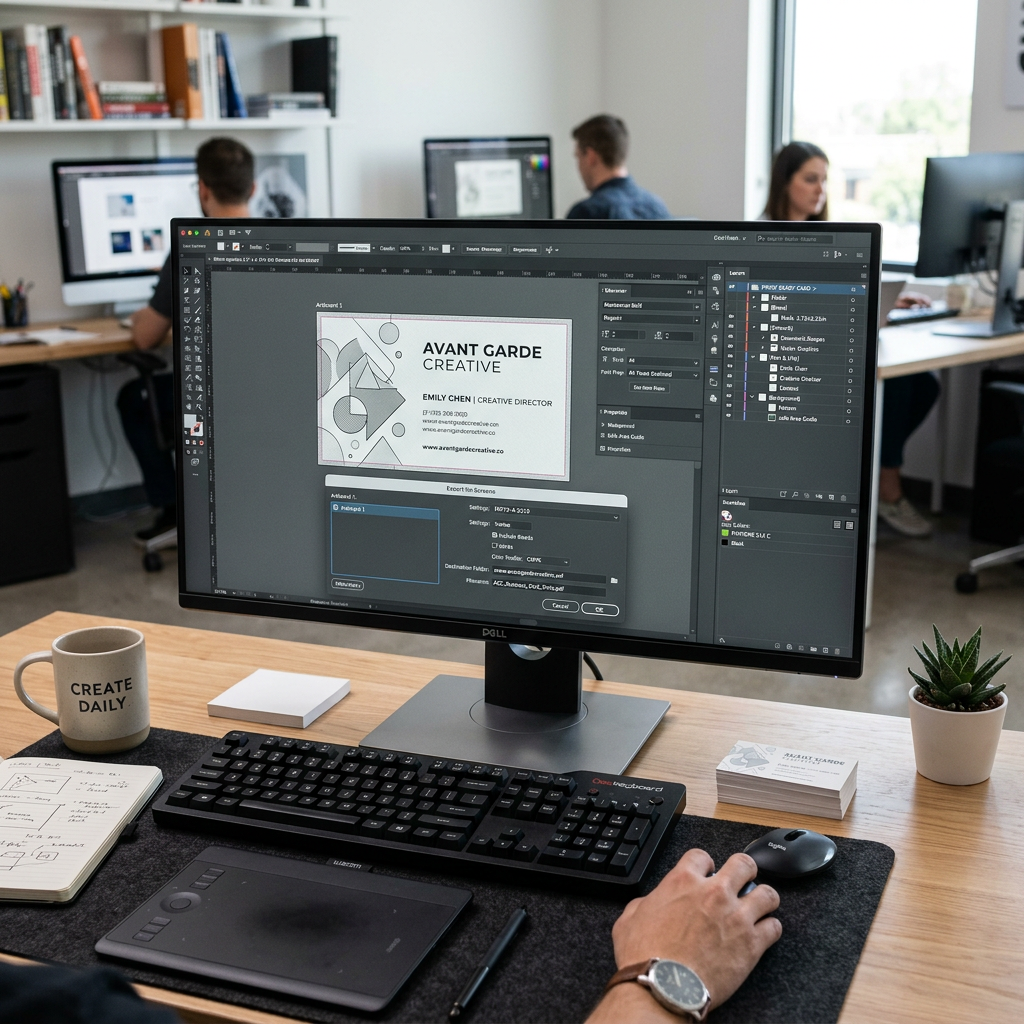
A print-ready file is a file prepared so the production team can output it without guessing about size, content, or technical settings. Common working formats include Adobe Illustrator, InDesign, and Photoshop files, while PDF is often used for final submission. The correct format depends on the manufacturer’s prepress workflow.
Before exporting, ask whether the factory prefers one PDF per card face, a multi-page PDF, or a packaged source file. Do not assume that a single format works for every card product. A card game with many unique faces may need a clearly numbered multi-page file, while a simple front-and-back card may be easier to review as separate files.
Prepare fonts and layers carefully
- Convert fonts to outlines when requested, or package the fonts with editable source files.
- Keep a labeled editable source file for future revisions.
- Use clear layer names such as Artwork, Bleed, Cut Line, Foil, and Embossing.
- Separate special effects into spot-color layers if the factory requires them.
- Do not flatten a file when the production team needs to inspect or edit individual elements.
- Do not include hidden, unused, or accidental objects outside the artboard.
Exported PDFs should be opened and inspected after export. Check page size, orientation, crop marks, bleed, missing images, font substitution, transparency, and page order. Keep the final production folder organized and use a version number or approval date in the filename.
Front, Back, and Multi-Card Artwork Alignment
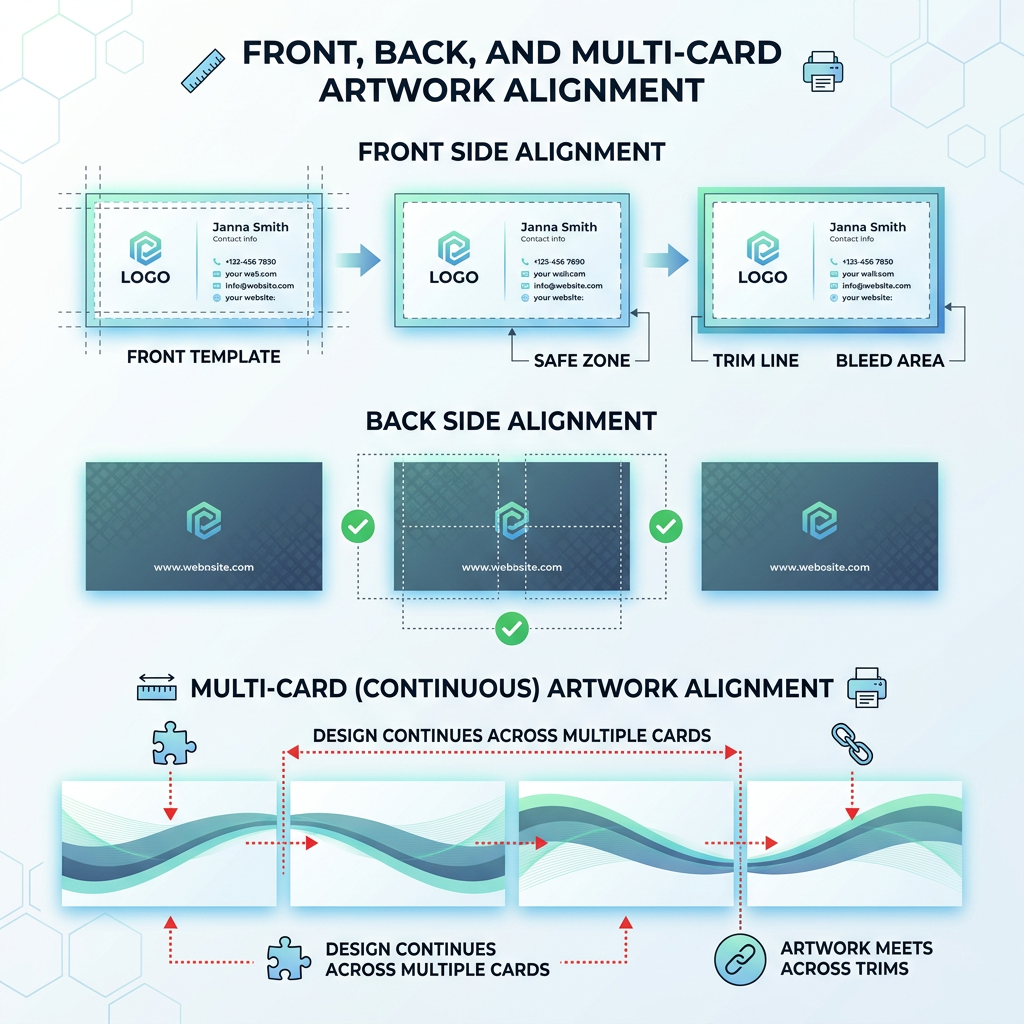
Card artwork must communicate which files belong together and how they should be oriented. For a two-sided card, label the front and back clearly and show the same orientation on both sides unless the design intentionally rotates one side. For a deck, identify every unique face with a consistent number or code.
Back designs often need special attention because small registration differences can be visible when the design is symmetrical or includes a border. If the product requires a uniform back across many cards, provide one approved back file and a clear instruction that it applies to the full set.
For card games, an inventory or artwork map is useful. It can list card number, card name, front file, back file, quantity, language version, and any special treatment. This reduces the risk of missing cards, duplicated pages, or incorrect sequencing during prepress.
Before submission, verify that:
- Every card face has a unique and readable filename.
- Front and back files have matching dimensions and bleed.
- Language versions are separated and labeled.
- Variable data, barcodes, serial numbers, or signatures are supplied in the required format.
- Special finish areas correspond to the correct card face and position.
If the project is a complete game rather than a single card product, the manufacturing workflow should include prototype testing, sampling, bulk production, quality control, packaging, and international shipping. The card game manufacturing process guide explains how artwork fits into those later stages.
Proofing, Sampling, and Production Approval
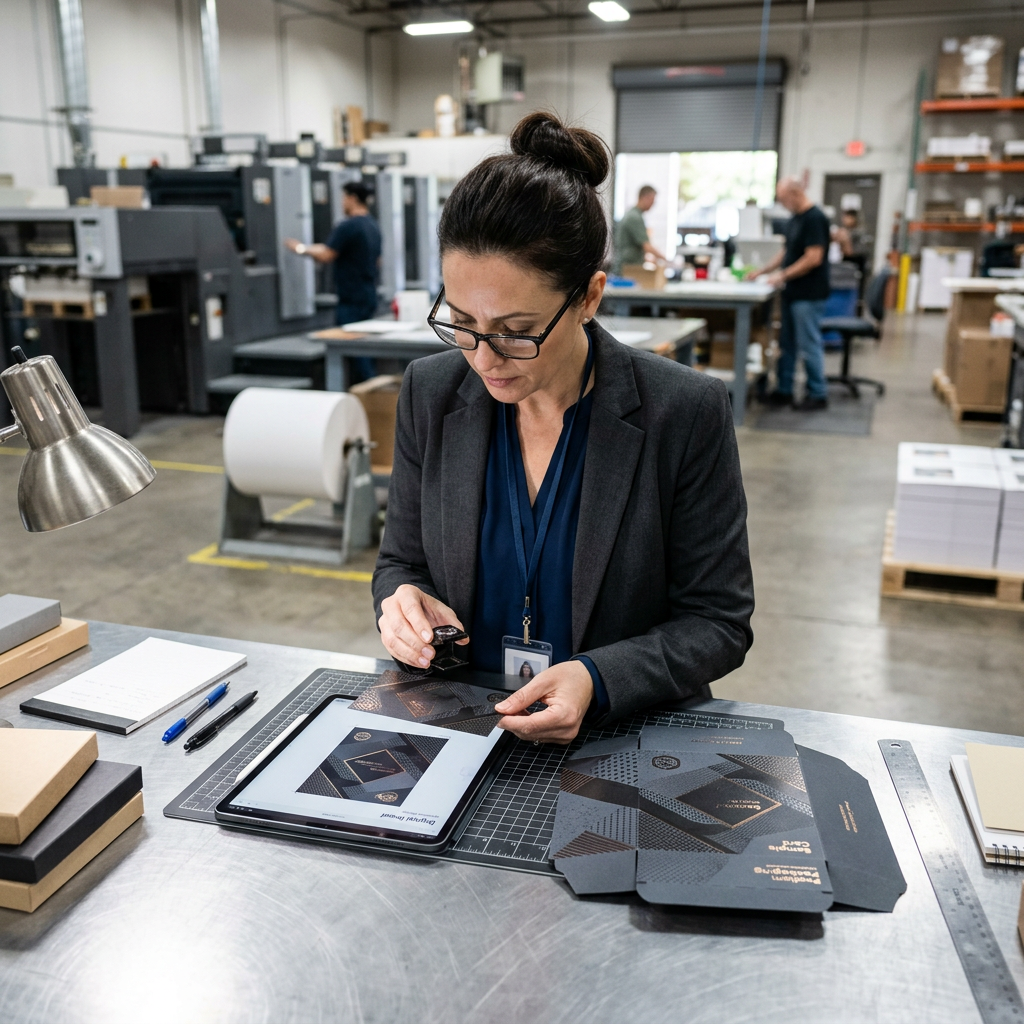
A proof is a pre-production approval used to check artwork, layout, text, order, and other visible details. A sample is a physical card or product made to help evaluate the actual material, print, finish, construction, and sometimes packaging. These serve different purposes and may both be useful for a commercial launch.
Start with a digital proof when you need to confirm content and layout efficiently. Review every card face, including small text, symbols, spelling, numbering, borders, and back orientation. If the project has color-sensitive branding or unusual stock and finishes, request a physical sample before committing to bulk production.
Give consolidated feedback in one document or one clearly identified revision round. Mark changes by page or card number and explain whether each change applies to one face or the whole set. After approval, keep the final proof, approved sample reference, specification sheet, and correspondence together.
YBJ Cards Printing supports artwork review, sampling, bulk production, export packing, and worldwide shipping. Quality control should verify the approved specification throughout production, not only inspect a finished carton. Buyers should also confirm how defects, color variation, cutting, collation, and packing will be checked for their particular project. For more detail, compare a custom card printing sample and proof before ordering.
Artwork Submission Checklist for Bulk Card Printing
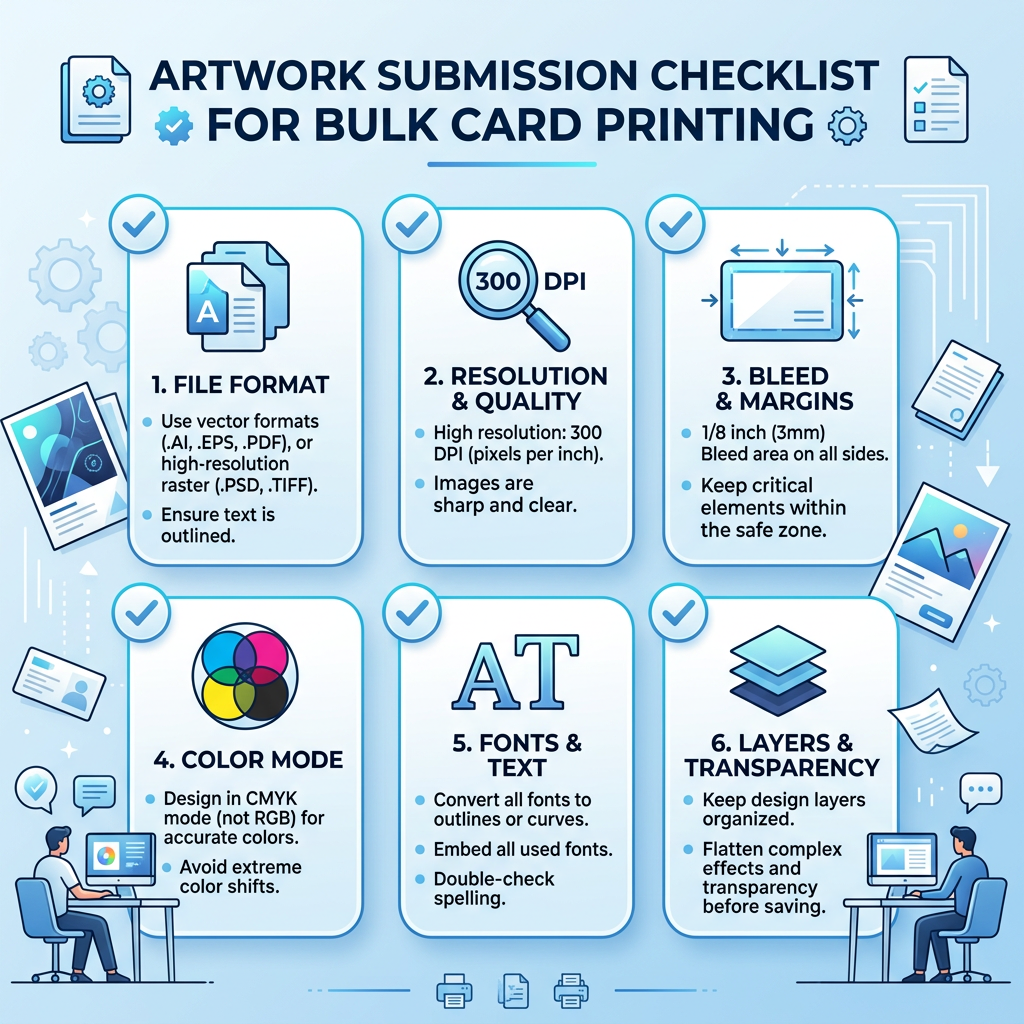
Use this checklist before sending artwork for quotation, sampling, or bulk production:
- Confirm the specification: finished size, corner radius, material, thickness, finish, packaging, quantity, and requested file format.
- Set the document correctly: use the approved dimensions, bleed, orientation, and safe area.
- Check images and color: confirm resolution, color mode, black settings, gradients, and transparency.
- Prepare typography: check spelling and convert or package fonts according to the printer’s instructions.
- Organize card faces: use consistent filenames, page order, front-back matching, and language labels.
- Separate special treatments: identify foil, spot UV, embossing, signatures, die cuts, or other non-standard areas in the requested format.
- Inspect the export: reopen the final PDF or source package and check every page at high zoom.
- Send a change log: identify the version, date, and any important production notes.
- Approve the reference: confirm the digital proof or physical sample before bulk production begins.
Keep the artwork package compact and unambiguous. A folder with duplicated files, unclear versions, or unexplained special layers can delay review. If files are large, use a stable file-transfer method and tell the factory which uploaded folder is the active version.
Artwork preparation also affects manufacturing planning. Quantity, card variety, collation, packaging configuration, and shipment method may influence the production setup and quotation. Review how card printing MOQ affects a first order before finalizing the commercial plan.
Conclusion: Confirm the Custom Card Printing Artwork Requirements Before Production
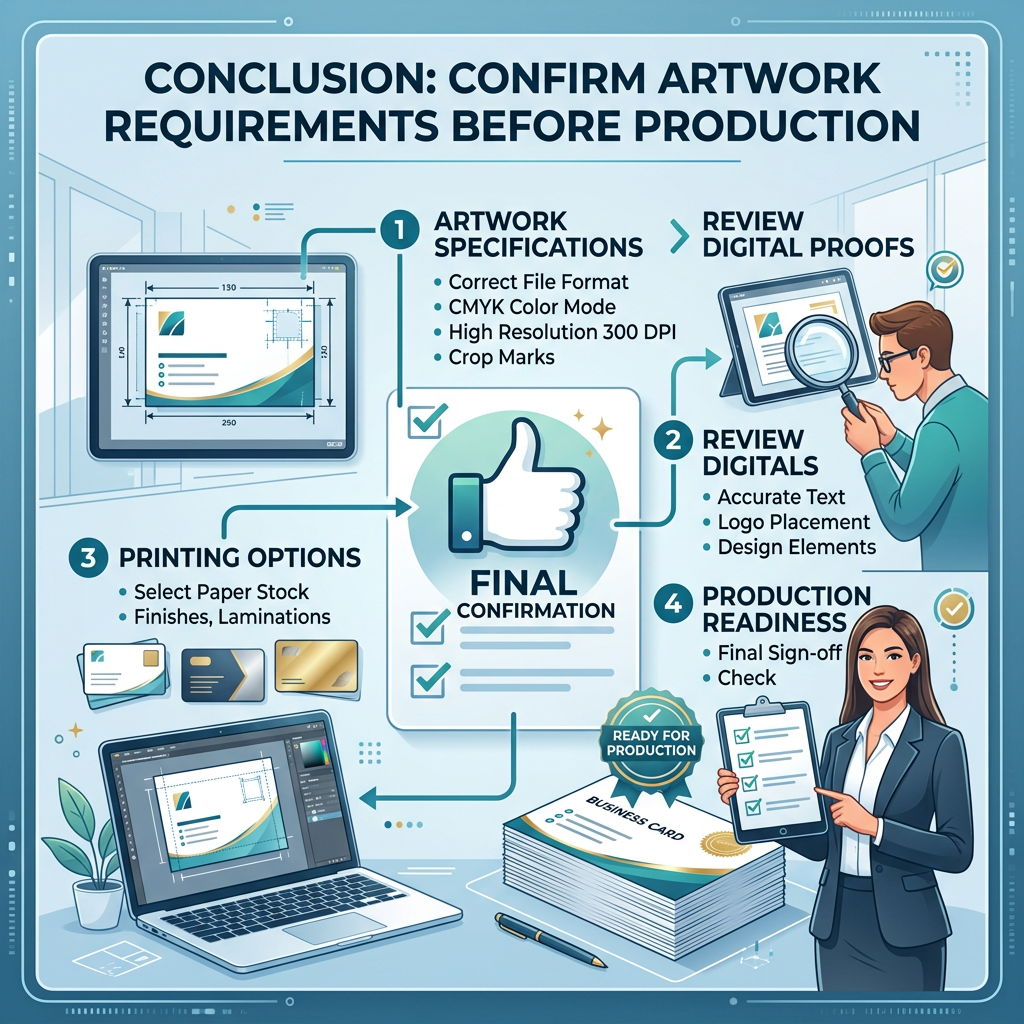
Good artwork preparation gives the manufacturer a clear, measurable production instruction. The most important steps are confirming the factory template, adding the correct bleed, protecting important content with a safe area, checking CMYK and image quality, managing fonts and layers, labeling every card face, and approving a proof or sample.
These custom card printing artwork requirements should be confirmed alongside material, finish, packaging, quantity, and shipping needs. Because specifications, MOQ, price, and lead time depend on the project, an early artwork review is the practical way to identify corrections before sampling or bulk production.
Request an Artwork Review and Tailored Quote
Share your card type, finished size, material, quantity, finish, and packaging requirements with YBJ Cards Printing. Our team can review the artwork setup and recommend the next step for sampling or bulk production.
Tags
Keep Reading
Related Articles
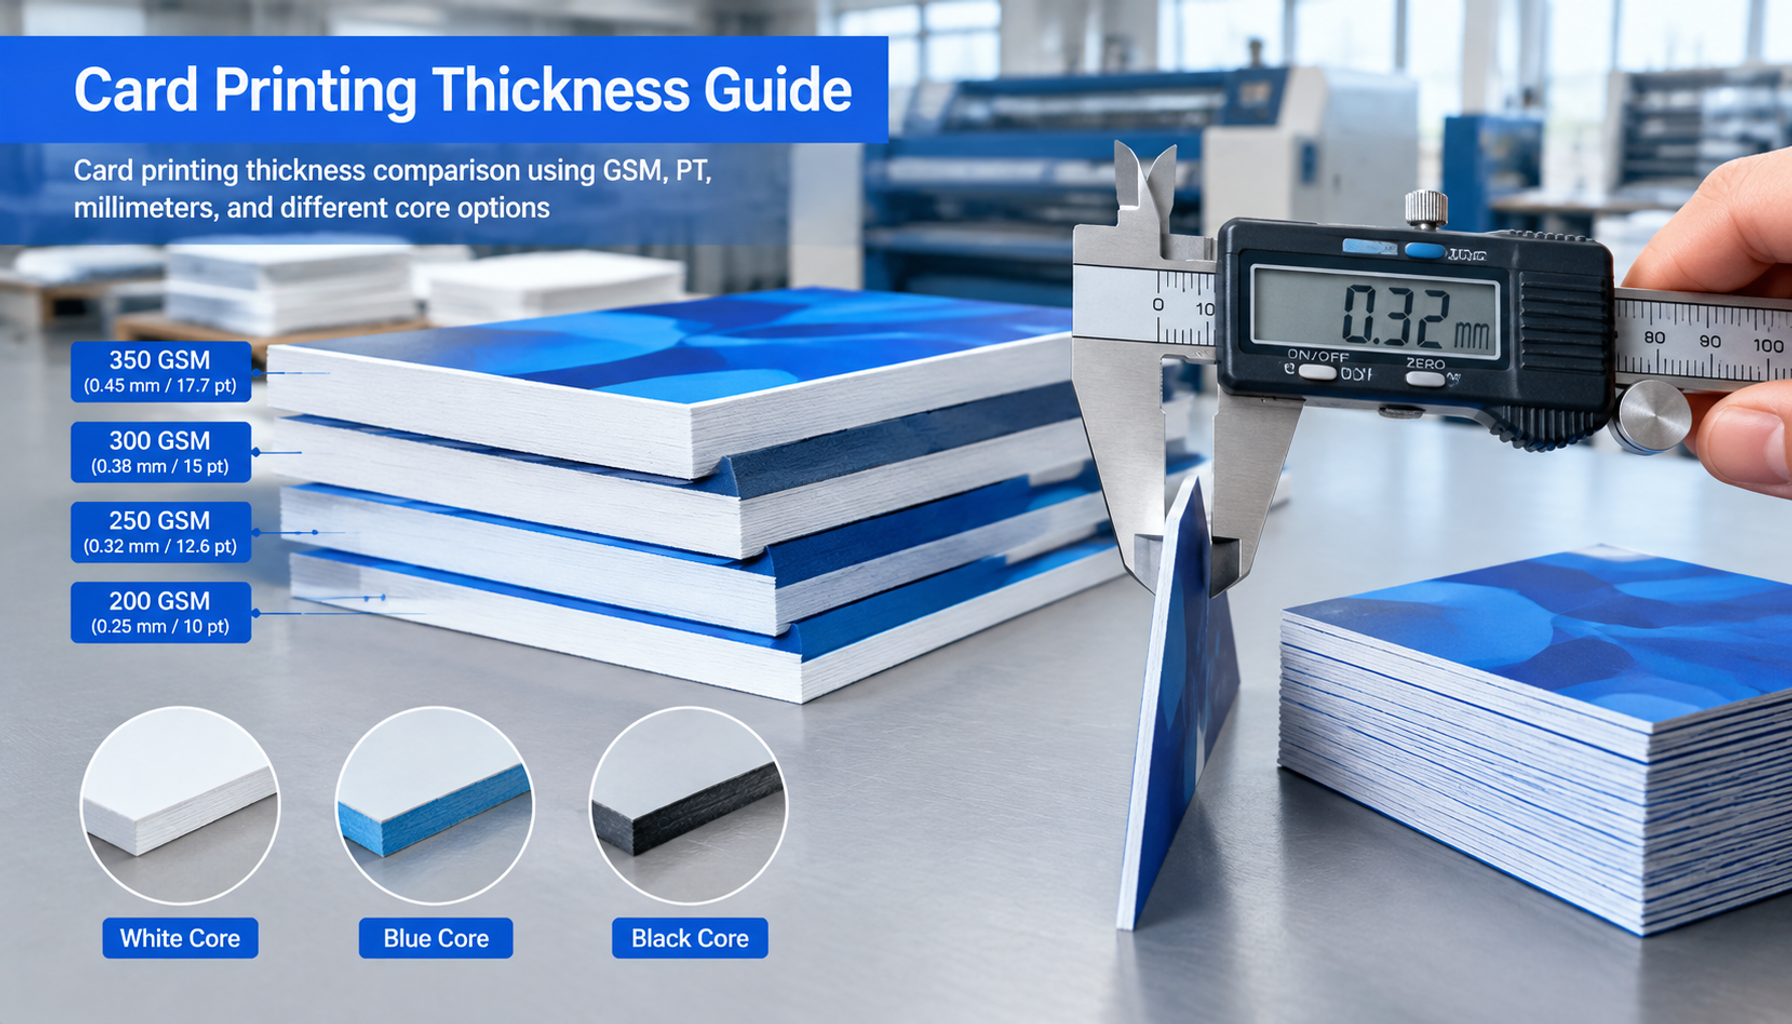
Card Printing Thickness: GSM, PT, and Core Selection Guide
A practical B2B guide to comparing GSM, PT, millimeters, paperboard cores, and plastic constructions when specifying custom cards.
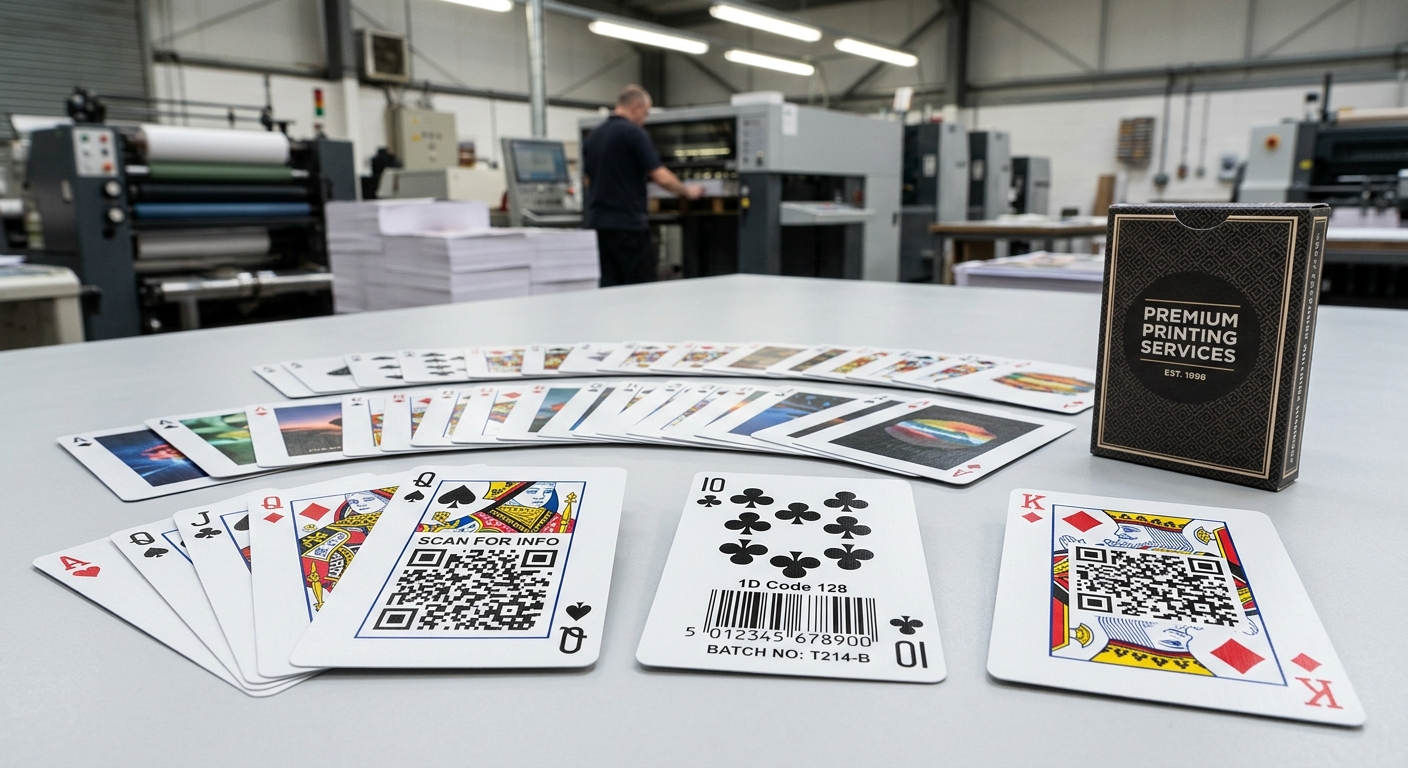
How to Print Custom Cards with QR Codes and Barcodes in a Deck
Printing scannable codes on a custom card deck requires coordination between code generation, database management, artwork preparation, print production, finishing, and scan testing. This practical guide explains how B2B buyers can prepare reliable QR codes and barcodes for static or variable-data card decks.
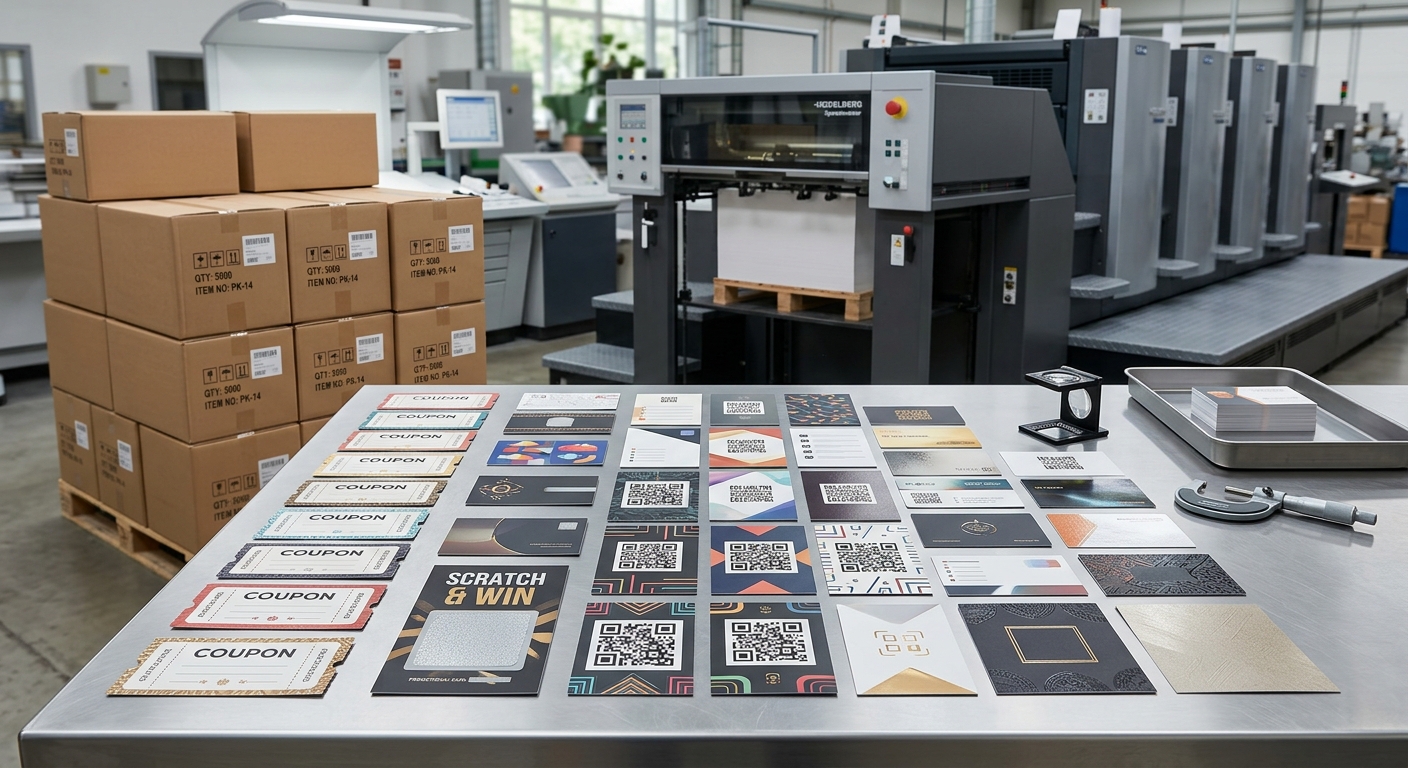
Custom Promotional Card Printing for Marketing Campaigns: Formats and Production Tips
Custom promotional card printing helps brands deliver compact, measurable marketing materials for launches, retail promotions, events, loyalty programs, and direct-mail campaigns. The best result depends on matching the card format, material, finish, artwork, quantity, and packaging to the campaign objective.
Fast Quote Support
Ready to Start Your Custom Card Project?
Send us your product type, size, material, quantity, and packaging requirements. Our team will reply within 24 hours with production suggestions, sampling options, and a competitive quote. No setup fees.